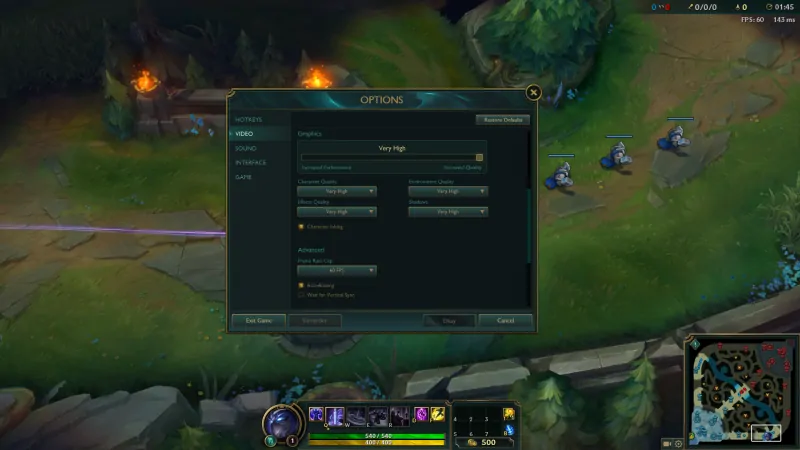
Though I have been lucky enough to enjoy video games since the days of SNES, it was not until I got my first gaming computer that I started caring about the performance and quality of my games. While games run exactly the same on the same console, their performance and graphics vary wildly from one PC to the next. Most gamers, even casual ones, have probably seen detailed menus of graphics options in their favorite video games though knowing exactly what each of those settings does is another matter entirely.
Today we will take a look at common video game settings and how you can optimize them for maximum performance, quality, or a mixture of both. You should also check out our guide on checking if your PC can run any game which will give you a general idea on what kind of performance and quality you should expect from your video games even before you run them.
Some brief notes
For the purposes of this post, we will talk about some of the most common settings you can find in video games, modern and old. However, we cannot cover everything. Some video games have incredibly detailed options, such as Tomb Raider and its fixation on individual hair strands. This guide should provide you with enough information to configure any game but please drop a comment down below if you have any questions about any settings in your video games.
Window settings, resolution, and vertical sync
The resolution should be the easiest thing to understand. Higher resolutions will usually give you more space to work with and will make the game’s world look more detailed. Full HD resolution stands at 1920 x 1080, HD resolutions are usually set at 1280 x 720 and there are many different variations above, between, and below those. In 99.9% of the cases, you will want to set the game’s resolution to the highest level which will usually be the same resolution that you have on your desktop.
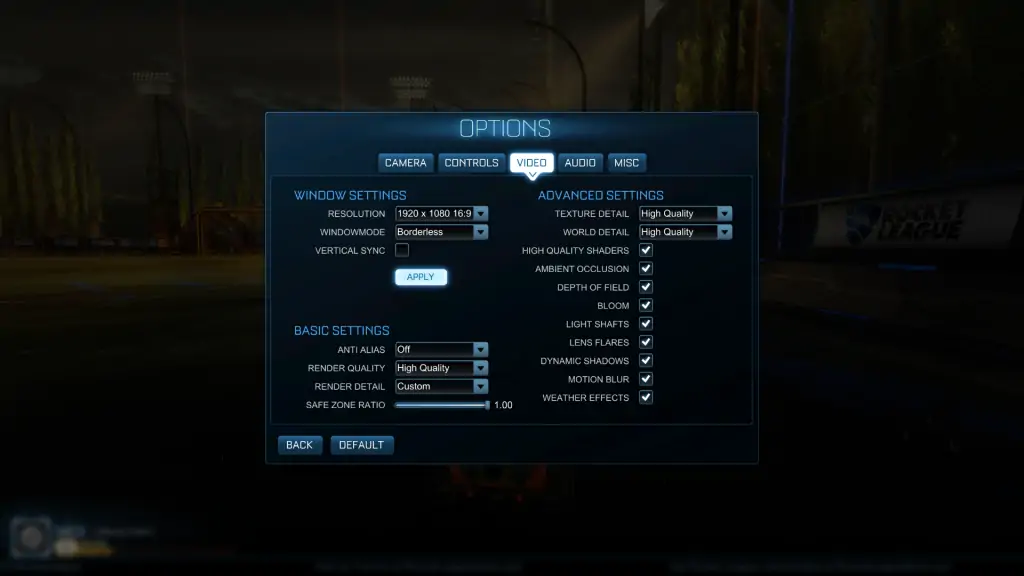
In addition to that, you will notice that most games can run in fullscreen, windowed, and borderless modes. The first two should be fairly self-explanatory while the third one is basically a combination of the others. While the game will look fullscreen, it will behave as it if runs on a window so there are fewer bugs when you are trying to Alt + Tab to your desktop, for instance. The vast majority of games perform better in a fullscreen so just keep that setting unless the game behaves erratically or you need to frequently visit the desktop without crashing the game.
As for Vertical Sync, or Vsync as you will frequently see it, is a feature that allows your graphics card to sync with the framerate of your monitor. When this setting is disabled, it can cause an effect known as screen tearing. That happens because your monitor’s refresh rate does not correspond to the frames per second (FPS) that your card is producing. For example, say that you have a monitor that refreshes at 60Mhz and a game that runs at 80 FPS. While your monitor is refreshing at a rate of 60 times per second, the graphics card is producing an additional 20 frames so some parts of the environment might not sync at the same time.
To fix that, vsync simply caps the frame rate of your game to what your monitor’s refresh rate is. While this eliminates screen tearing, it can also cause other problems. You see, vsync is not very flexible. If your screen has a 60Mhz refresh rate and you enable the vsync setting, your game needs to run at 60 or more FPS at all times. If it drops below that, vsync will instantly cap the framerate at half of the original value or 30 FPS in our example. Obviously, this can result in extremely jarring experiences, especially if your computer cannot handle it. I would not recommend enabling the setting unless a particular game has major screen tearing issues as the cost to your performance is very rarely worth the trouble. Opinions on vsync vary hugely but it is the last thing you should worry about when it comes to getting good quality on your video games.
Basic Graphics settings
The basics are out of the way so it is time to delve into other graphics settings that you might be wondering about.
Rendering or “Game Detail”
This setting is referred to by a variety of names but you will usually see it as “rendering” or “game detail” or something very similar. The options will range from low to high or high performance versus high quality. The rendering options make a huge difference in both how your game looks and how it performs. High quality settings are quite demanding but you should aim to get it as high as possible because most of the options below will not really matter if the game’s world looks jarred and blurry.
Anti-aliasing
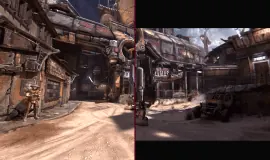
A setting you will find in virtually every video game, anti-aliasing (AA) is another feature that can really improve the look of a game as it smooths out the jagged, pixelated edges of everything. Take a look at the picture above. The left side features no anti-aliasing whatsoever whereas the right side features XX AA. All those rough edges are gone and the image looks much more refined.
The thing is, there are many different types of anti-aliasing with incredible variations in quality and performance. Multisample anti-aliasing (MSAA), for instance, is an extremely common type that merely affects the very edges of the graphical objects yet uses quite a lot of processing power to achieve that. Fast Approximate Anti-Aliasing on the other hand attempts to somewhat smooth the really rough bits, a technique which uses very little processing power yet produces blurry images as a result.
When it comes to anti-aliasing, you should go for the highest setting that your system allows. This can require some experimentation but even if you have a slower computer, turning on the lowest setting can make a huge difference in a game’s world.
Advanced quality settings
Now that we have covered the major areas, take a look at some of the more dedicated settings below.
- Texture/World/Environment/Character detail: Affects the actual textures (the colors and details) of items and environments in a game’s world. In modern games, high settings require graphics card with a lot of VRAM as processing detailed textures requires a lot of processing power.
- Shaders: High quality shaders basically allow for more detail, especially for effects like lighting and shadowing.
- Ambient Occlusion: Enables softer shadows. A setting that is rarely worth the performance hit, unless your card can handle the extra load.
- Depth of Field: Makes for a more realistic sense of depth so that areas in the background will be less pronounced. It will barely make a difference in most games except for the ones with huge environments or detailed horizons.
- Bloom: Distorts light around its source which creates the eponymous bloom effect. Games that employ this effect well can create incredible environments filled with dark areas and neat light sources but the differences are definitely subtle.
- Shadows: High quality shadows actually require a fair amount of processing power. If you can live with it, try to decrease their quality whenever you can. Dynamic shadows, the ones that change as your character or other items in the world move around, require even more power though their effect is quite noticeable indeed.
- Filtering: Video games usually show you high quality textures in the immediate surroundings which gradually get worse as you look further down a path. The various types of filtering take surrounding textures, round them up and then attempt to show more detail without affecting performance too much. Do try to enable this setting whenever possible because it will make the environment look better by a large margin.
- Motion Blur: Does exactly what it says on the tin. I never enable this setting as I find it incredibly distracting but it depends entirely on your preferences. The setting rarely has an effect on performance and it merely means to provide a more “realistic” way of seeing fast-moving objects in video games.

